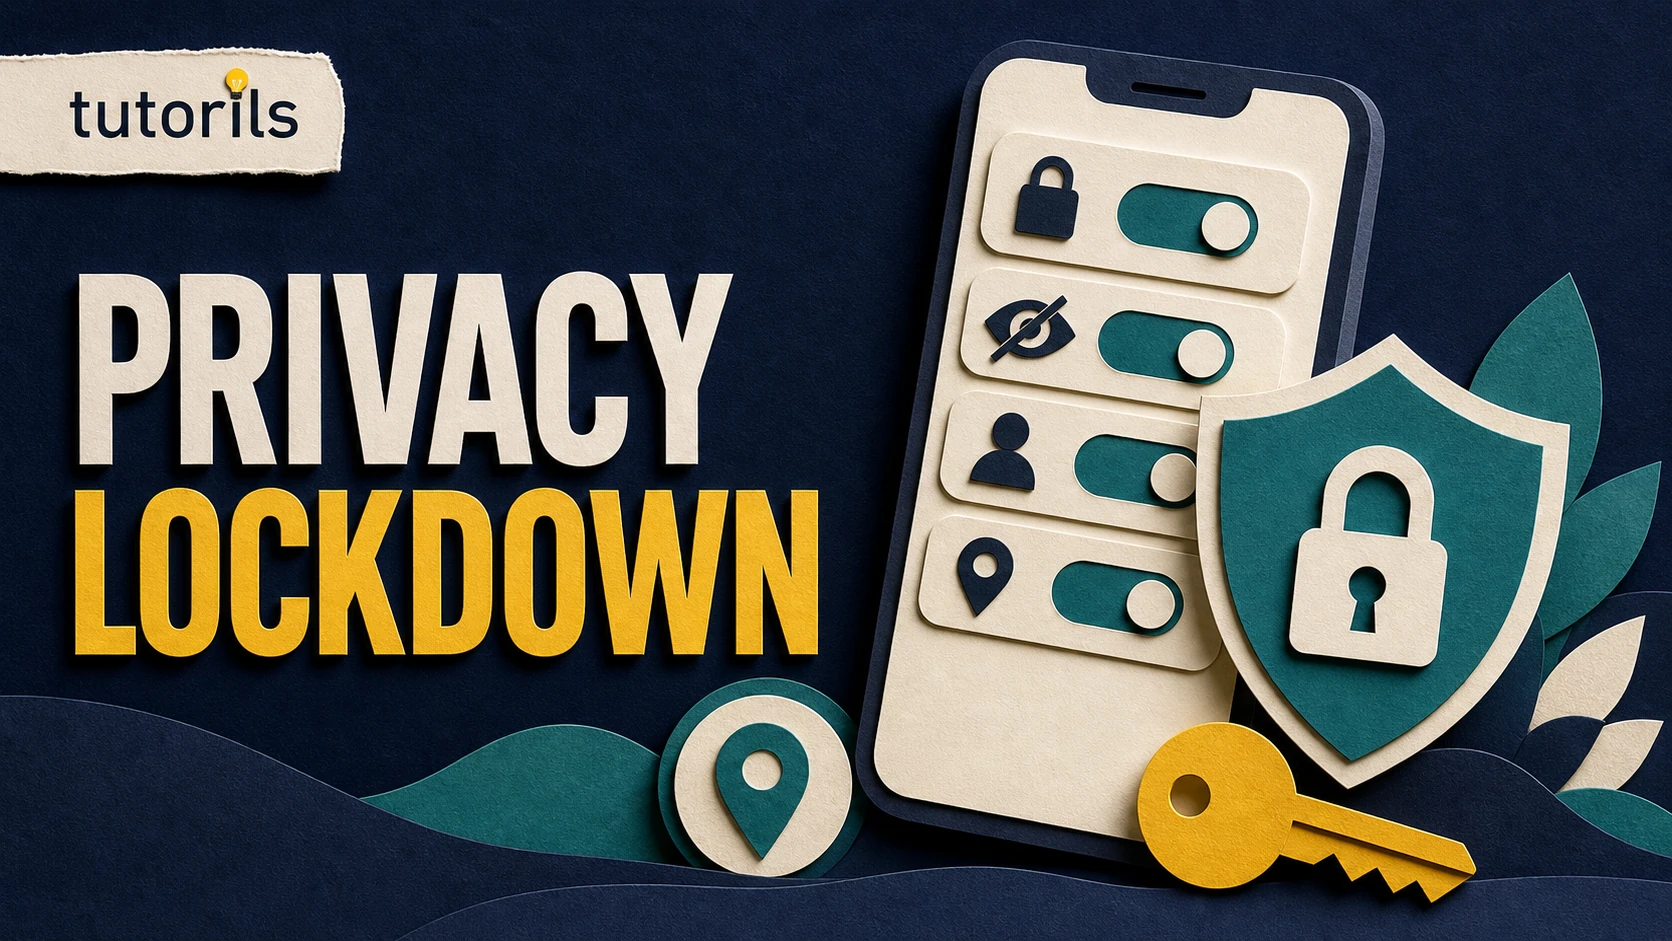
An Android phone often holds enough personal information to reconstruct a large part of your life: messages, photos, saved accounts, payment apps, location history, work files, and access to your phone number. The default setup is designed to work for many people, but it cannot know which notifications you want visible, which apps still need access to your microphone, or how you want a missing phone to be found.
10 Android Settings to Change for Privacy & Security
Review ten Android privacy and security settings for safer app permissions, lock screen alerts, theft protection, device finding, backup, and updates.
The ten changes below focus on privacy, theft protection, account recovery, and software security. You do not need a special security app. Most of the controls are already built into Android and Google Play services. Menu names can differ on Samsung, Pixel, Motorola, OnePlus, Xiaomi, and other phones, so use the search box in Settings if a path does not match your device.
This is a review, not a list of switches that everyone should turn on blindly. Read the tradeoff under each setting, make the change that fits your situation, and test features such as phone unlocking, Find Hub, and backup before you depend on them.
Start with a five-minute security check
Open Settings and search for Security and privacy. On supported phones, this page collects warnings about the device lock, accounts, system updates, app security, device finding, and permissions. Resolve any warning you understand before changing optional controls. Android's security and privacy overview explains what these sections cover.
Use this order if you are short on time:
| Priority | Setting to review | What it protects | Main tradeoff |
|---|---|---|---|
| First | Screen lock and lock screen notifications | Physical access and exposed messages | A stronger lock takes slightly longer to enter |
| Next | Permissions, unused apps, and Play Protect | Camera, microphone, location, files, and harmful apps | Some apps may ask for access again |
| Then | Theft Protection, Find Hub, and SIM PIN | A lost phone, stolen device, and phone number | Recovery requires preparation and correct account details |
| Finally | Backup and updates | Recovery and known software flaws | Backups use storage; updates need time, power, and data |
Do not change several recovery settings and immediately remove your old methods. Test one change at a time. A secure phone that you cannot recover is still a serious problem.
1. Replace swipe unlock with a strong screen lock
Go to Settings, search for Screen lock, and check what currently protects the phone. None and Swipe do not protect access to your data. Android supports a PIN, pattern, or password, and Google's current guidance recommends at least a six-digit PIN for added security. A longer PIN or a strong password is harder to guess.
Fingerprint or face unlock can be convenient, but it normally works alongside a PIN, pattern, or password. Choose a fallback that you can remember without writing it on the phone case or storing it in an unlocked note. Avoid birthdays, repeated digits, the last digits of your phone number, and common patterns.
Google also notes that a PIN, pattern, or password helps protect some backed-up data with the device screen lock. Review the official Android screen lock instructions before changing a lock you do not fully understand.
After setting the lock, switch the screen off and unlock it twice. Restart the phone and test it again because Android requires the primary credential after some security events and restarts. If Auto-confirm unlock is offered, know that Google says it may reduce security. Convenience is not worth enabling if someone nearby can easily watch you enter the code.
2. Hide sensitive notification content on the lock screen
A locked phone can still reveal one-time codes, private messages, appointment details, bank alerts, delivery addresses, and the names of apps you use. Search Settings for Notifications on lock screen or Sensitive notifications. Choose to hide sensitive content, show only notification icons, or block lock screen notifications for selected apps.
The right choice depends on how you use the phone. A person who needs calendar reminders at work may keep the event visible but hide messaging and financial apps. Someone who often leaves a phone on a shared desk may prefer icons only. Android lets you control notifications for individual apps on many devices, so you do not have to silence everything.
Google's Android notification guide warns that steps vary by phone. After changing the setting, send yourself a message and lock the device. Check what a stranger could read without unlocking it. If the message body still appears, open that app's notification settings and restrict its lock screen behavior.
This change protects what is displayed. It does not replace a screen lock, stop notifications from reaching the device, or secure message previews shown on a paired watch or computer. Review those devices separately.
3. Use Privacy Dashboard before removing permissions
Open Settings and search for Privacy Dashboard. Android 13 can show permission activity from the previous seven days, while Android 12 shows the previous 24 hours. Select Location, Camera, Microphone, Contacts, or another permission to see which apps used it and when.
Look for access that does not match what you did. A navigation app using location during a journey makes sense. A simple calculator accessing the microphone does not. Timing matters, which is why Privacy Dashboard is more useful than scanning a long app list without context. Google's Privacy Dashboard guide describes the available history and the Android versions that support it.
Tap an app from the dashboard to change its permission. For location, a supported phone may let you choose approximate instead of precise access, or allow access only while the app is in use. For camera and microphone, deny access if the app has no clear reason to use them.
Do not revoke every permission at once. A camera app needs the camera, a calling app may need the microphone, and a trusted navigation app needs location while you navigate. Remove access that is unnecessary, then open the app and test its main function. The separate Tutorils guide to Android privacy settings gives a deeper permission-by-permission review.
4. Turn on pause app activity for apps you rarely use
Old apps are easy to forget. A travel app from last year, a scanner used once, or a game you stopped playing may still retain permissions. Open Settings, go to Apps, select an app, and look under Unused app settings for Pause app activity if unused. Wording varies, and older Android versions may manage unused permissions through Google Play Protect.
When supported, this control can remove permissions from an app that has not been used for a period of time. Android's app permission instructions explain how to manage an individual app and where the unused-app setting appears.
Enable it for apps you want to keep but do not use often. Leave it off only when an app must work after long periods without being opened, and only if you understand why. A medical device companion, home alarm, accessibility tool, or device-management app may need special handling. Follow its official support instructions rather than guessing.
This setting is not a substitute for uninstalling an app you no longer trust or need. Uninstalling reduces clutter and removes the app from the device. Before deleting it, check whether its data is stored in an account or only on the phone. If you suspect hidden surveillance or unusual administrator access, follow the Tutorils guide to finding and removing spyware apps instead of relying on permission reset alone.
5. Keep Google Play Protect scanning enabled
Open the Google Play Store, tap your profile picture, choose Play Protect, then open its settings. Confirm that Scan apps with Play Protect is on. If you install apps from outside Google Play, consider Improve harmful app detection after reading what information that option sends to Google.
Google says Play Protect checks apps from Google Play before download and periodically scans the device. It can warn about, disable, or remove potentially harmful apps. It can also examine apps installed from other sources. The current Google Play Protect documentation recommends leaving the main scanning control on.
Play Protect is one layer, not a promise that every app is safe. Read the developer name, permissions, recent reviews, privacy information, and update history before installing an unfamiliar app. Do not disable a warning because a message, caller, or video tells you the app is needed for a refund, delivery, investment, remote job, or support session.
If Play Protect reports a problem, read the exact app name and action. Remove an app you do not recognize or trust. If the alert concerns a legitimate app used for work, verify the app and instructions through your employer's known support channel before making an exception.
6. Review Theft Protection and enable the controls your phone supports
Search Settings for Theft Protection. On supported Android phones, the page can include Theft Detection Lock, Offline Device Lock, Failed Authentication Lock, and Remote Lock. Availability depends on the Android version and device model. Some options require a screen lock, verified phone number, active SIM, Find Hub, or internet connection.
Theft Detection Lock uses device signals to detect some grab-and-run events and lock the screen. It is designed to reduce exposure after a theft, but Google explains that it may not trigger in every situation. Offline Device Lock can lock the screen after an unlocked phone loses connectivity for a period. Failed Authentication Lock responds to repeated failed attempts.
Remote Lock lets you request a lock through android.com/lock when its prerequisites are met. Configure its optional security question carefully if your device offers one. The answer should not be easy to find on your social profiles or guess from public information.
Read Google's Android theft protection guide for current feature limits and setup requirements. Turn on the supported options that fit your device, then verify that your Google Account phone number is current. Do not perform a staged theft test that could lock you out when you are away from your recovery information.
7. Configure Find Hub before the phone goes missing
Search Settings for Find Hub and confirm Allow device to be located is set the way you intend. Open Find Hub on another device or visit the official service while you still have the phone. Check that the correct device appears and that you can identify it by name.
Find Hub can locate, secure, and erase an online Android device. Supported devices and accessories can also use encrypted recent locations or the crowdsourced Find Hub network for offline finding. Google provides several participation choices, including Off, Without network, With network in busy places only, and With network everywhere. The names and availability may differ by device.
There is a privacy tradeoff, so choose deliberately. Google's Find Hub privacy explanation describes end-to-end encryption, location processing, aggregation in busy places, and the available network controls. A PIN, pattern, or password is required for the broad network's best offline finding experience.
Confirm you can sign in to the Google Account connected to the phone and that its recovery details are current. Finding a phone does not help if you cannot access the account. Never travel to a suspicious location to recover a stolen phone yourself. Use the information to work with local authorities or your carrier when appropriate.
8. Protect the physical SIM with a separate PIN
A device screen lock protects the phone, but a removable SIM may be placed in another device. Search Settings for SIM lock or Lock SIM. If your carrier and phone support it, enable a SIM PIN and replace any publicly documented default PIN with one you control.
Do not guess the current SIM PIN. Repeated wrong entries can lock the SIM and require a Personal Unblocking Key, often called a PUK, from the carrier. Find the carrier's official instructions or contact its support team before enabling the lock if you are unsure. Store the PUK and account recovery information somewhere secure that is not only on the phone.
Google includes SIM PIN setup in its personal data theft checklist. You will normally need the SIM PIN after the phone restarts or when the SIM is moved. This is separate from the screen lock and may also be separate from a carrier account PIN used when contacting support.
If you use an eSIM, ask the carrier what protections apply to eSIM transfer and account changes. Also add a carrier account PIN or port-out protection if available. Those controls are managed by the carrier, not the Android Settings app.
9. Turn on backup and check what is actually included
Search Settings for Backup. Confirm which Google Account receives the backup, review Backup details, and use Back up now if the latest backup is old. Android backup can include apps and app data, call history, contacts, device settings, and SMS or MMS messages, but Google notes that not every app can back up or restore all of its data. Photos and videos need their own Google Photos setting or another backup method.
The official Android backup and restore guide explains what can be included, how encryption works, and where to review the backup. Check the storage account and available space. A backup that has silently stopped because the account is full cannot protect new data.
Do not treat cloud backup as the only copy of irreplaceable files. Keep another tested copy of important documents and photos in a location you control. The Tutorils free cloud backup setup guide explains how to separate phone backup, photo sync, and an additional file copy.
Test recovery without erasing your current phone. Confirm contacts appear in the intended account, open several backed-up photos from another device, and verify that important app accounts have their own recovery methods. Messaging apps, authenticator apps, and local note apps may require separate exports or cloud settings.
10. Check Android, security, Google Play system, and app updates
Open Settings and search for Software updates, System update, Security update, and Google Play system update. Android exposes several update layers, and they may show different dates. Install the updates that are available for your model, then restart if requested.
Google's Android update guide says update schedules vary by device, manufacturer, and carrier. It also shows where to check the Android version, security update, and Google Play system update. Older devices may not support newer Android versions, so compare your phone's status with the manufacturer's official support information.
Next, open Google Play Store, tap the profile picture, and choose Manage apps and device. Install app updates, especially for browsers, messaging, finance, password management, and security-sensitive services. Avoid update files sent through messages or offered by pop-up websites. Use the phone's Settings app, Google Play, or the device manufacturer's official update tool.
If storage prevents an update, remove downloads and unused apps carefully. Do not delete photos or documents until you have verified their backup. The Tutorils guide to clearing Android storage without deleting important files provides a safer cleanup order.
Recheck these settings after a major change
Review this list after installing a major Android update, replacing a SIM, changing your main Google Account, moving to a new phone, or installing an app that handles sensitive information. Permission names and menu locations can change, and a restored device may not reproduce every old preference.
A monthly check does not need to be long. Open Security and privacy, resolve understandable warnings, scan Privacy Dashboard, check the last backup, and install available updates. Every few months, remove apps and devices you no longer use.
The safest configuration is not the one with the most switches enabled. It is the one you understand, can test, and can recover. Start with the screen lock and notification privacy, then work through permissions, theft protection, finding, backup, and updates. Keep recovery information outside the phone so the protections still help when the device is no longer in your hand.
Reader answers
Frequently asked questions
Open a question to read the answer. Opening another answer closes the previous one.
Which Android setting should I change first?
Set a strong screen lock first, then hide sensitive lock screen notifications. These changes reduce exposure if someone picks up your phone and give other protections, including Find Hub and theft controls, a stronger foundation.
Is a fingerprint enough to secure an Android phone?
A fingerprint is convenient, but Android still relies on a PIN, pattern, or password as the primary credential in some situations. Use a strong fallback and keep it private.
Should I turn off every Android app permission?
No. Remove permissions that an app does not need for its function. Change one app at a time, test it, and restore only the access required for a feature you use.
How often should I check Android Privacy Dashboard?
Review it after installing unfamiliar apps and during a regular monthly security check. Investigate camera, microphone, or location access that does not match how you used the phone.
Should Google Play Protect always be on?
Google recommends keeping Play Protect scanning on. It checks apps for harmful behavior, but you should still review developers, permissions, warnings, and download sources before installing software.
Does Theft Detection Lock work on every Android phone?
No. Support depends on the Android version, device model, and configuration. Open Theft Protection in Settings to see which controls your phone supports and read each requirement before enabling it.
Can Find Hub locate a phone when it is offline?
Supported devices may use an encrypted recent location or the crowdsourced Find Hub network. Offline results depend on your settings, screen lock, device support, and whether the needed features were configured before loss.
What happens if I enter the wrong SIM PIN?
Repeated wrong SIM PIN attempts can lock the SIM and require a PUK from your carrier. Do not guess. Confirm the default PIN and recovery process with the carrier first.
Does Android backup save everything on my phone?
No. Included data varies, and some apps cannot back up all settings or files. Review Backup details, check photo backup separately, and keep another tested copy of irreplaceable files.
Why do Android security and Google Play system updates show different dates?
They are separate update layers and may follow different schedules. Install available updates, restart when requested, and check your manufacturer or carrier for the support schedule of your model.