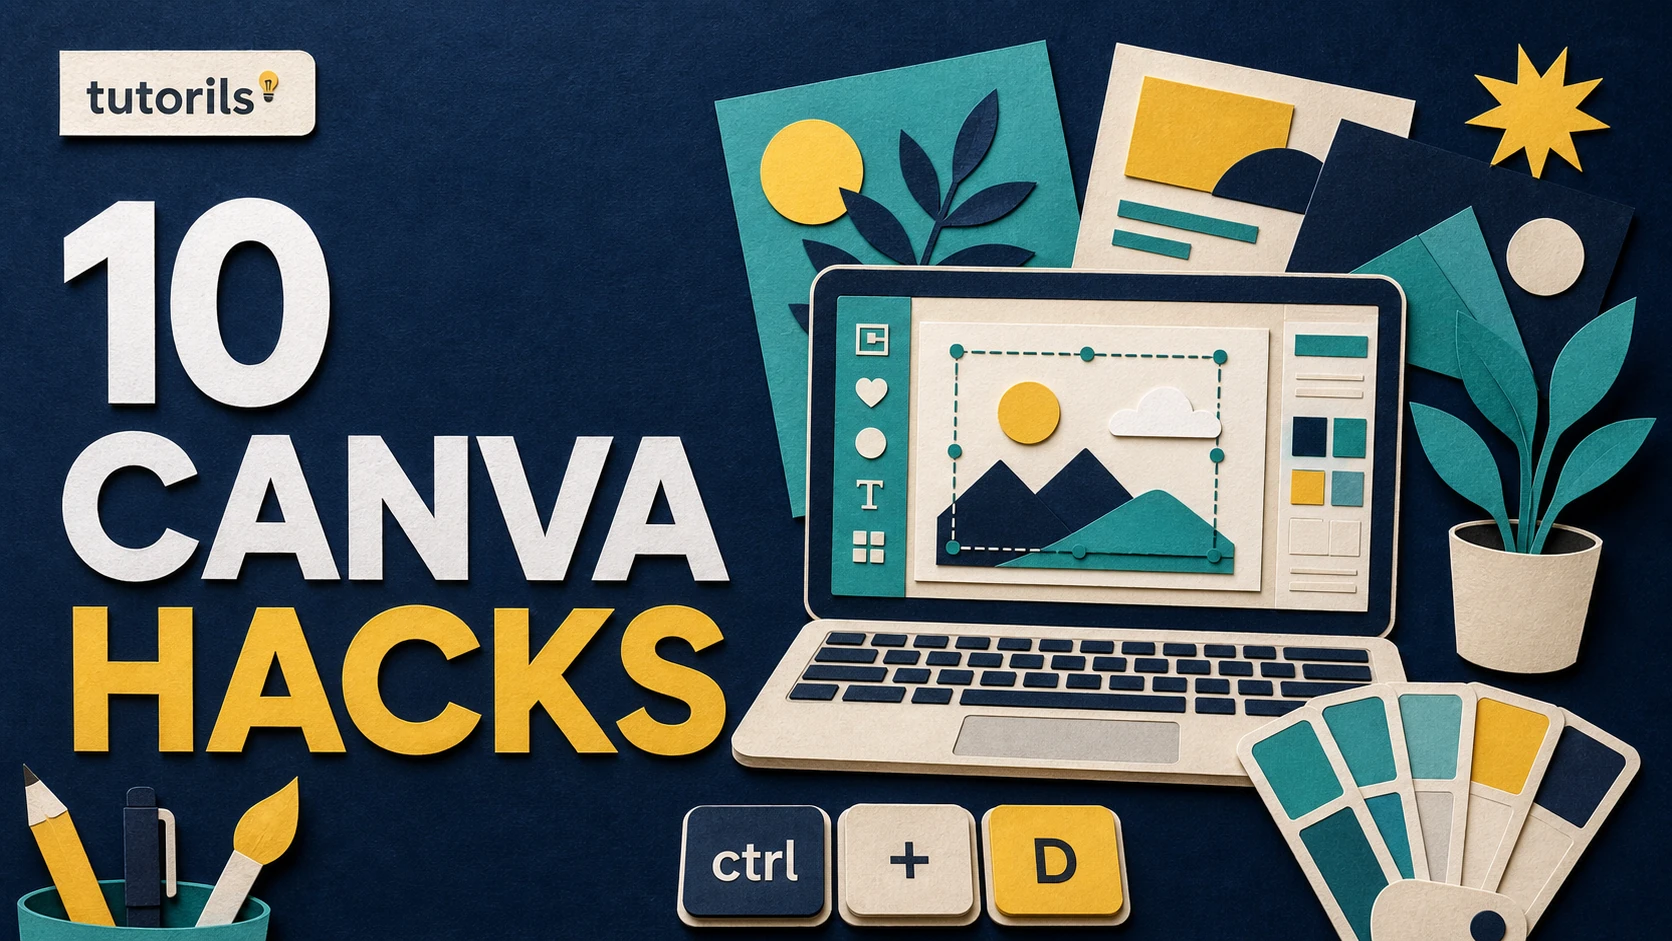
Canva feels simple until a design contains twenty overlapping elements, three nearly identical pages, and a headline that moves every time you replace a photograph. The most useful Canva hacks are not hidden effects. They are small habits that reduce searching, protect alignment, and make a design easier to revise.
10 Canva Hacks Every Beginner Should Know
Learn ten practical Canva hacks for shortcuts, element filters, image replacement, guides, layers, text effects, gradients, charts, links, and exports.
The ten techniques below use Canva's normal editor tools. Some controls can move as the interface changes, and a few features depend on the design type or account plan. Use the current labels in your editor, keep an untouched copy of important work, and check every export outside Canva.
Before you try the hacks
Open a practice design rather than experimenting on the only copy of client or campaign artwork. Duplicate the page or whole design, give it a clear name, and keep the original unchanged. Canva autosaves changes, which is convenient, but it also means an accidental edit can quickly become the latest version.
Choose the correct format before building the layout. Search Canva for the intended destination or enter custom dimensions from the current platform specification. Resizing later may require a plan feature, and automatic resizing still needs a visual review.
Finally, gather the real words, logo, photographs, colors, and dates. Hacks save time when the source material is ready. They do not fix a vague message or an unapproved brand asset. If you are setting up recurring blog graphics, the Tutorils Canva Brand Kit guide can help you organize those inputs first.
1. Learn the shortcuts that remove repeated clicks
Canva's official keyboard-shortcut reference covers editing, text, elements, navigation, zoom, comments, and video. Beginners do not need to memorize the whole list. Start with actions you repeat every few minutes.
Use T to add a text box. Use R, L, and C for a rectangle, line, and circle. Standard undo, redo, copy, paste, duplicate, select all, and delete shortcuts also reduce trips through menus. Canva lists / or the platform-specific quick-actions combination as a way to reach quick actions. The exact Command or Control key depends on macOS or Windows.
Practice five shortcuts for a week before adding more. A shortcut is useful only if you can remember it without interrupting the work. Keep Canva's current shortcut page bookmarked because browser shortcuts, operating-system shortcuts, and Canva editor shortcuts can overlap.
Do not use single-key commands while you are typing inside a text box. Press Escape or select the canvas first. If a shortcut behaves differently from an old tutorial, use Canva's official current reference instead of assuming the editor is broken.
2. Filter the Elements library before scrolling
Searching for 'arrow' can return an overwhelming mix of photographs, graphics, video, stickers, and animated results. Canva's Elements panel includes filters that can narrow results by properties such as type, color, orientation, or animation where available.
Write a specific search phrase. 'Thin white curved arrow' is more useful than 'arrow' when you know the required style. Then open the filter controls and remove formats you cannot use. A static print design does not need animated assets, and a clean icon set should not mix several illustration styles.
Check licensing or plan markers before building the whole layout around one element. Replace a Pro asset early if the final account cannot export it. For commercial work, confirm Canva's current content license and any third-party rights that apply to logos, photographs, music, and trademarks.
Save a small approved set inside a master design or brand template when you make a series. Reusing a checked icon family is faster and more consistent than searching the entire library for every post.
3. Replace content without destroying the template structure
A template is most useful for its spacing and hierarchy. Replace the sample headline, image, and supporting copy before changing decorative details. This quickly shows whether the structure fits your actual content.
When replacing a framed photograph, drag the new image onto the frame until Canva indicates that it will fill the existing shape. Then open the crop controls and reposition the subject. This keeps the frame size and layout while changing the source. Inspect faces, product edges, and text inside photographs after the crop.
For text, select the placeholder and paste only the approved wording. Check the font, line spacing, and line breaks. A longer headline may need an edited phrase or adjusted layout. Shrinking it until it becomes unreadable is not a good shortcut.
Keep one untouched template page beside the working page. If the alignment drifts, you can compare the two rather than reconstructing the original from memory. Delete the reference page only after the final design is approved.
4. Use guides and Position instead of aligning by eye
Slightly uneven spacing can make a simple design feel unfinished. Canva's official time-saving guide recommends rulers and guides for consistent placement and the Position tools for alignment. Depending on the editor version, these controls may appear under File, View settings, or Position.
Create guides for the outer margin and any repeated columns. Snap the headline, image, logo, and footer to the intended structure. For a set of cards or icons, select them together and use alignment, spacing, or Tidy up when the option is available.
Automatic tools work best when the selection contains the items that belong together. If you include a background shape by accident, Canva may distribute the group across the whole canvas. Undo, select only the intended elements, and try again.
Check the design at the final display size. Perfect mathematical spacing is less important than clear grouping. A label may need to sit closer to its number, while unrelated sections need more separation. Use guides to support the hierarchy, not to force every gap to be identical.
5. Select hidden layers without dismantling the page
Overlapping shapes, photographs, and text can make the desired layer hard to click. Canva documents keyboard methods for selecting items beneath other elements, and its Position or Layers view can show the stacking order in supported editor contexts.
First try clicking the visible edge of the object. If that fails, use the current Canva shortcut for cycling through overlapping elements on your operating system, or open the layer list and select the item by position. Move it with the arrow keys for a small adjustment rather than dragging it across the page.
Rename or group complex sections when the editor provides those controls. A card made from a background, icon, heading, and caption is easier to move as one group. Lock a finished background or guide element if the current editor offers locking, but remember how to unlock it before handing the design to another person.
Do not send every item to the front just to reach it. That can put a shadow above its object, a photograph above its frame, or a decorative shape over readable text. Inspect the final stacking order after any layer change.
6. Add a text background without stacking extra shapes
A headline over a photograph often needs a quiet surface. Canva's official tips describe a Background option within text effects that can place a configurable background behind selected text. This can be faster than manually sizing a rectangle and keeping it aligned with the wording.
Select the text, open Effects, and look for Background or the closest current label. Adjust color, transparency, spread, roundness, and other available controls until the text is easy to read. Avoid treating the effect as decoration when a plain high-contrast block would communicate better.
Test every line break. The background follows the text box, so a changed headline can create an awkward stepped shape. Compare the design at phone size and make sure the effect does not crowd letters or cover the focal point.
For a whole series, copy the checked text style from the master instead of recreating the effect. Consistent padding and color make the posts feel related. Our color psychology guide for thumbnails and social posts explains how to choose the accent while keeping contrast and context ahead of symbolism.
7. Build a controlled gradient rather than using a random one
Gradients can separate text from a photograph or add depth to a plain background. Canva's official tips recommend searching the Elements panel for gradient graphics and adjusting the available colors and transparency. The exact editing controls depend on the selected element.
Choose a gradient with a direction that supports the composition. If text sits on the left, a dark-to-transparent overlay can quiet that area while leaving the subject visible on the right. Do not cover the whole image with a heavy effect when only one region needs support.
Use documented brand colors when possible. If you need a new combination, Canva's color tools can help explore related values, but the final choice still needs a readability check. Copy the actual color values into the master so future pages do not rely on visual guessing.
Inspect banding and transparency in the downloaded file. A smooth editor preview can look different after compression. If the gradient introduces artifacts or makes the image muddy, simplify it or replace it with a solid panel.
8. Turn data into a chart, then verify every value
Canva includes chart and infographic elements that can present percentages, comparisons, and trends. The official tips page describes charts that can be customized for data, color, spacing, and style. A chart can make a post easier to scan, but it also makes incorrect numbers look authoritative.
Choose the chart type based on the relationship. Bars compare categories. Lines can show change over an ordered sequence. A donut or pie is suitable only when the parts form a meaningful whole. Avoid adding a chart merely because the template has one.
Enter data from the approved source and check the labels, scale, units, dates, and totals. Cite the source in the caption or linked article when the information is not your own. Do not invent percentages to make a layout look complete.
Keep labels readable at the final size. If the chart needs tiny text to fit, reduce the number of categories or publish it in a larger format. A social preview is not the place for a dense spreadsheet.
9. Add links where the exported format can use them
Canva supports links in designs, but whether a viewer can click them depends on how the work is shared or exported. A link in a PDF or shared presentation can behave differently from a link inside a JPG posted to social media. A flat image does not turn printed text into a clickable destination.
Select the text or element, use Canva's current Link control or keyboard shortcut, and paste the complete destination. Open the result after export and test it. If you publish a social image, place the actual link in the platform's supported caption, profile, sticker, or button location instead of relying on the pixels.
Use descriptive linked text in documents. 'Download the event guide' is clearer than a raw address or 'click here.' Verify spelling and the final destination, especially for payment, registration, or account pages.
For a blog graphic, keep the design focused on the headline and use the webpage as the source of detail. Our guide to creating social media posts in Canva covers the complete path from message and format to caption, scheduling, and measurement.
10. Import carefully, export deliberately, and test the result
Canva can import certain documents, including PDFs, and attempt to turn their visible parts into editable elements. This is useful for revising a file when the original design is missing, but the conversion is a reconstruction. Fonts, line breaks, charts, masks, and layered objects may change.
Keep the original file and inspect every converted page. Confirm dates, contact details, page order, links, image quality, and required legal wording. Rebuild critical logos, codes, or regulated text from approved originals rather than trusting an inferred version. For flat image reconstruction, the Canva Magic Layers guide explains a similar review process.
When downloading, choose the format required by the destination. PNG is common for sharp graphics. JPG can reduce file size for photographs. PDF choices depend on whether the document is for screens or print. Video and animation need a compatible motion format. Plan availability can affect some export options.
Open the exported file outside Canva. Check dimensions, crop, transparency, color, text clarity, page order, links, and file size. Send a private test to the destination when it adds a crop or interface overlay. Keep the editable Canva master after delivery so corrections do not begin from a compressed download.
A practice routine that makes the shortcuts stick
Choose one simple design and rebuild it using the techniques above. Add text and shapes with shortcuts. Filter the Elements search. Replace a framed image. Set margins with guides, align a row of items, select a hidden layer, add a restrained text background, and test one gradient. Finish with a small chart or working link if the format needs it.
Then download the result and make a list of anything that changed between the editor and final file. This exercise is more useful than memorizing a long shortcut chart because it connects each tool with a production problem.
For another structured beginner project, try the Instagram carousel design guide. It gives you repeated pages where guides, alignment, hierarchy, grouping, and careful export all matter.
The best Canva hack is a repeatable check. Keep a master, use official shortcuts, search narrowly, align with tools, verify layers and data, and inspect the finished export. Those habits prevent more mistakes than an impressive effect hidden in a menu.
Reader answers
Frequently asked questions
Open a question to read the answer. Opening another answer closes the previous one.
What are the best Canva hacks for beginners?
Start with keyboard shortcuts, filtered element searches, framed-image replacement, guides, Position tools, layer selection, reusable text styles, controlled gradients, verified charts, and a final export check.
Where can I find current Canva keyboard shortcuts?
Use Canva's official Help Center shortcut page. Commands can differ between Windows and macOS, and older tutorials may not match the current editor or browser behavior.
How do I align elements evenly in Canva?
Select only the related elements, open Position, and use the available alignment, spacing, or Tidy up controls. Add guides for repeated margins and review the result at final display size.
How can I select an element hidden behind another in Canva?
Try its visible edge, use Canva's current shortcut for cycling through overlapping elements, or open the layer list in Position. Check the stacking order after moving it.
Can I replace a Canva template photo without changing the layout?
Yes. Drag the new photo into the existing frame, then adjust its crop. Confirm that faces, products, and any text inside the image remain visible in the final format.
How do I put a background behind text in Canva?
Select the text, open Effects, and choose Background when available. Adjust color, transparency, spread, and roundness, then test every line break and check contrast at phone size.
Are links in Canva designs always clickable?
No. Clickability depends on the shared or exported format. Test links in the final PDF or presentation. A JPG or PNG posted on social media does not contain a clickable link.
Can Canva make an imported PDF fully editable?
Canva can reconstruct many visible PDF elements, but the result may change fonts, line breaks, charts, or layers. Keep the original and verify every page before using the conversion.
Which Canva download format should I choose?
Follow the destination requirements. PNG suits many graphics, JPG can reduce photographic size, PDF options serve documents or print, and motion needs video or GIF. Inspect the downloaded file outside Canva.
Do Canva hacks work on the free plan?
Many basic editor techniques do, but some assets, resizing, brand, scheduling, and export options depend on the current plan. Check the marker on each asset and Canva's current plan details.