Introduction
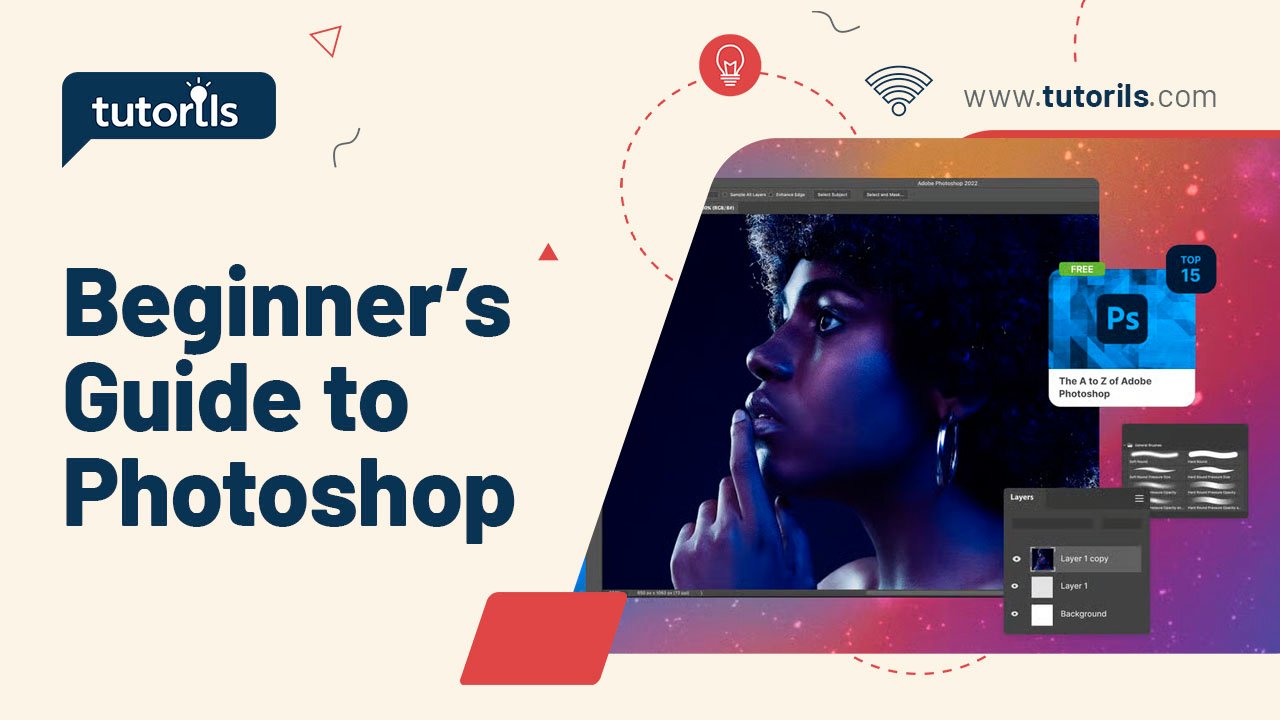
Diving into Adobe Photoshop can feel daunting for beginners, with its vast array of tools and features. Yet, it’s the go-to software for creating professional-grade photo edits, from enhancing personal snapshots to designing marketing visuals. Whether you’re new to photo editing or looking to polish your skills, this Beginner’s Guide to Photoshop will help you edit your first photo with confidence.
In this step-by-step tutorial, we’ll walk you through seven essential techniques to edit your first photo in Photoshop, curated by the experts at Tutorils #. These beginner-friendly tips will have you creating stunning images in no time. Let’s get started!
Why Learn Photoshop for Photo Editing?
Photoshop is the industry standard for photo editing, offering unmatched flexibility for adjustments, retouching, and creative effects. A 2025 report by Creative Bloq noted that 85% of professional designers use Photoshop for its precision and versatility. This Beginner’s Guide to Photoshop simplifies the learning curve, helping you master the basics to edit your first photo effectively. Below, we’ll guide you through seven practical steps with real-world examples to kickstart your Photoshop journey.
1. Set Up Your Photoshop Workspace
A clean, beginner-friendly workspace makes navigating Photoshop easier when starting your Beginner’s Guide to Photoshop.
Step-by-Step Process:
- Download and install Adobe Photoshop from Adobe.com (₹1,675/month for Creative Cloud Photography plan).
- Open Photoshop and select File > New to create a blank canvas or Open to import your photo.
- Go to Window > Workspace > Photography or Essentials for a beginner-friendly layout.
- Ensure key panels like Layers, Adjustments, and Tools are visible (enable via Window menu).
- Save your workspace by clicking Window > Workspace > New Workspace and naming it (e.g., “Beginner”).
Real-World Example:
Emma, a new photographer, set up the Photography workspace, making it easier to find tools like Crop and Adjustments, speeding up her first edit.
Pro Tip: Use Ctrl+Tab (Windows) or Cmd+Tab (Mac) to switch between open images quickly.
External Resource: Learn about Photoshop workspaces at Adobe’s Help Center.
2. Crop and Straighten Your Photo
Cropping removes unwanted areas and straightens crooked images, a foundational step in this Beginner’s Guide to Photoshop.
Step-by-Step Process:
- Select the Crop Tool (shortcut: C) from the toolbar.
- Drag the crop borders to frame your subject (e.g., remove distracting backgrounds).
- To straighten, click Straighten in the top options bar, then draw a line along the horizon.
- Press Enter or click the checkmark to apply the crop.
- Save your progress via File > Save As (choose PSD to preserve layers).
Real-World Example:
Rahul cropped a family photo to focus on the subjects and straightened a tilted horizon, improving the composition instantly.
Note: Use the Rule of Thirds grid (enable in crop options) for balanced framing.
3. Adjust Brightness and Contrast
Correcting exposure enhances your photo’s clarity, a key skill in this Beginner’s Guide to Photoshop.
Step-by-Step Process:
- Go to Image > Adjustments > Brightness/Contrast.
- Move the Brightness slider to lighten or darken the image.
- Adjust the Contrast slider to make colors pop or soften the image.
- Alternatively, use Layers > New Adjustment Layer > Brightness/Contrast for non-destructive editing.
- Click OK or adjust the layer’s opacity for subtle changes.
Real-World Example:
Sonia brightened an underexposed sunset photo by +20 and increased contrast by +15, making the colors vibrant without overediting.
Pro Tip: Adjustment Layers let you tweak settings later without altering the original image.
4. Enhance Colors with Vibrance and Saturation
Boosting colors makes your photo more engaging, a must-know technique in this Beginner’s Guide to Photoshop.
Step-by-Step Process:
- Go to Layer > New Adjustment Layer > Vibrance.
- Increase Vibrance to enhance muted colors without affecting skin tones.
- Adjust Saturation for overall color intensity (keep below +30 to avoid unnatural looks).
- Use the Layer Mask to apply changes to specific areas (paint with a black brush to mask).
- Save your work regularly (File > Save).
Real-World Example:
Lisa increased Vibrance by +25 for a nature photo, making greenery pop while keeping the sky natural.
Note: Over-saturation can make images look artificial, so adjust sparingly.
5. Remove Blemishes with the Spot Healing Brush
The Spot Healing Brush removes imperfections like dust or skin blemishes, a simple graphics designer hack for beginners.
Step-by-Step Process:
- Select the Spot Healing Brush Tool (shortcut: J) from the toolbar.
- Choose a brush size slightly larger than the blemish (adjust in the top options bar).
- Click or paint over blemishes, scratches, or unwanted spots.
- Use Content-Aware mode (top options bar) for seamless blending.
- Create a new layer (Layer > New > Layer) for non-destructive edits.
Real-World Example:
Mark removed acne from a portrait in seconds using the Spot Healing Brush, creating a polished look for his client.
Pro Tip: Zoom in (Ctrl++ or Cmd++) for precise blemish removal.
External Resource: Master the Spot Healing Brush at Adobe’s Tutorial.
6. Apply Filters for Creative Effects
Filters add artistic flair to your photos, making this a fun step in the Beginner’s Guide to Photoshop.
Step-by-Step Process:
- Go to Filter > Filter Gallery.
- Browse effects like Poster Edges, Blur, or Sketch.
- Adjust sliders (e.g., intensity, radius) to customize the filter.
- Apply the filter to a duplicated layer (Layer > Duplicate Layer) to preserve the original.
- Lower the layer’s opacity for a subtle effect if needed.
Real-World Example:
Anita applied a soft Gaussian Blur to a background layer, making her portrait subject stand out with a dreamy effect.
Note: Use filters sparingly to avoid overpowering your image.
7. Save and Export Your Edited Photo
Properly saving your work ensures you can share or revisit your edits, a critical step in this Beginner’s Guide to Photoshop.
Step-by-Step Process:
- Save your project as a PSD file (File > Save As > Photoshop (*.PSD)) to preserve layers.
- For sharing, go to File > Export > Export As.
- Choose JPEG for photos or PNG for transparent backgrounds.
- Adjust quality (80–90% for JPEG) to balance file size and clarity.
- Click Export and choose a save location.
Real-World Example:
Priya exported her edited photo as a high-quality JPEG, sharing it on Instagram with crisp details and vibrant colors.
Pro Tip: Use Save for Web (Legacy) for precise control over file size and quality.
What’s New in Photoshop for 2025?
In 2025, Adobe Photoshop introduced AI-Powered Neural Filters (e.g., Smart Portrait for instant retouching) and Content-Aware Fill 2.0 for faster object removal. These tools, available in the Creative Cloud Photography plan (₹1,675/month), simplify editing for beginners. Access them under Filter > Neural Filters or Edit > Fill. These updates enhance the Beginner’s Guide to Photoshop with smarter, faster workflows.
Comparison Table: Photoshop Free Trial vs. Paid Plan
| Feature | Free Trial (7 Days) | Creative Cloud (₹1,675/month) |
|---|---|---|
| Access to Tools | Full access to all tools | Full access with updates |
| Neural Filters | Limited AI features | Advanced AI tools (e.g., Smart Portrait) |
| Cloud Storage | 2GB trial storage | 20GB or 100GB (Photography plan) |
| Save/Export Options | All formats available | All formats with advanced optimization |
| Support | Limited support | 24/7 Adobe support |
Recommended Tools for Photoshop Beginners
These tools and subscriptions complement the Beginner’s Guide to Photoshop for photo editing. Prices are in INR where applicable.
| Tool/App | Purpose | Price | Key Features | Link |
|---|---|---|---|---|
| Adobe Photoshop | Photo editing software | ₹1,675/mo | Advanced editing, AI tools, layers | Adobe Photoshop |
| Adobe Lightroom | Photo management and editing | ₹1,675/mo | Non-destructive edits, presets | Adobe Lightroom |
| Luminar Neo | AI-powered photo editing | ₹4,999/yr | Sky replacement, one-tap enhancements | Luminar Neo |
| Affinity Photo | Photoshop alternative | ₹4,799 | One-time purchase, layer-based editing | Affinity Photo |
| Pixlr | Online photo editor | Free/₹499 | Basic editing, templates | Pixlr |
| GIMP | Free Photoshop alternative | Free | Open-source, layer-based editing | GIMP |
| Photopea | Free online Photoshop clone | Free | PSD support, browser-based editing | Photopea |
| Snapseed | Mobile photo editing | Free | Easy filters, precise adjustments | Snapseed |
| Canva | Graphic design with photo editing | Free/₹999 | Templates, basic photo adjustments | Canva |
| Adobe Express | Quick photo editing | Free/₹799 | Templates, mobile-friendly editing | Adobe Express |
FAQ Section
How do I start editing a photo in Photoshop as a beginner?
In this Beginner’s Guide to Photoshop, open Photoshop, select File > Open, and import your photo. Use the Crop Tool (C) to frame, adjust Brightness/Contrast (Image > Adjustments), and save as PSD (File > Save As). Start with the Photography workspace for simplicity.
Is Photoshop free for beginners to try?
Photoshop offers a 7-day free trial with full access to tools. After that, the Creative Cloud Photography plan costs ₹1,675/month. This Beginner’s Guide to Photoshop works with the trial, letting you edit your first photo without upfront costs.
What are the easiest Photoshop tools for beginners?
The Crop Tool, Spot Healing Brush, and Brightness/Contrast are beginner-friendly in this Beginner’s Guide to Photoshop. Use C to crop, J to remove blemishes, and Adjustment Layers for non-destructive color tweaks to create professional edits quickly.
How do I save my edited photo in Photoshop?
To save your work in this Beginner’s Guide to Photoshop, go to File > Save As > Photoshop (*.PSD) for layers or Export As > JPEG for sharing. Use 80–90% quality for JPEGs to balance clarity and file size.
Can I learn Photoshop without design experience?
Yes, this Beginner’s Guide to Photoshop is designed for those with no experience. Start with simple tools like Crop and Adjustments, use free tutorials from Adobe, and practice editing one photo at a time to build confidence.
Conclusion
With this Beginner’s Guide to Photoshop, you’ve learned seven essential techniques to edit your first photo like a pro. From cropping to applying filters, these steps make Photoshop accessible and fun for beginners. Start editing today to transform your photos!
Have questions or want to share your first edit? Leave a comment, share this guide, or join our newsletter at Tutorils # for more design tutorials. Unleash your creativity with Photoshop!
Note: All photos and videos have been sourced from Google or YouTube. If you have any issues with the content, please contact us at Tutorils Contact Us.
More Resources
If you find any issues with this post or wish to have it removed, please reach out: Contact Us.
