
If you have been exploring web design tools lately, Framer is probably on your radar – and for good reason. It has rapidly grown from a prototyping tool into a fully-fledged, no-code website builder that lets designers publish stunning, interactive websites without writing a single line of code. Whether you are a UI/UX designer, a freelancer, or a startup founder who wants a beautiful site fast, Framer delivers speed, flexibility, and visual power in one package.
But like any powerful tool, Framer has depth. Most users only scratch the surface. In this guide, we will walk you through 10 Framer tips every web designer should know – from hidden shortcuts that save hours, to advanced animation tricks that make your designs truly stand out. Let us dive in.

What Is Framer and Why Designers Love It
Framer started as a code-based prototyping tool loved by interaction designers. It has since evolved into a powerhouse that blends a visual design canvas with real web publishing. Unlike Figma (which primarily handles design handoff) or Webflow (which leans more developer-friendly), Framer sits in a sweet spot: designer-first, yet fully publishable.
Key reasons designers are switching to Framer:
- Figma-like canvas – feels familiar to UI designers right away
- Built-in CMS – manage dynamic content like a blog or portfolio without a backend
- Smart Components – reusable, interactive components with built-in variants
- Native animations – create micro-interactions without writing CSS keyframes
- One-click publish – live on a custom domain in seconds
- SEO controls – built-in meta tags, sitemaps, and Open Graph settings
Now let us get into the actual tips.
Tip 1: Master the Quick Insert Menu (? / Ctrl+K)
The single most underused shortcut in Framer is the Quick Insert menu. Hit Ctrl+K on Windows (or ?K on Mac) at any time to instantly search for components, pages, layers, CMS collections, plugins – basically anything inside your project. This eliminates the need to hunt through side panels.
Power users combine this with naming layers well. If you name your components clearly (e.g., “Hero Section”, “Pricing Card”, “Nav Bar”), finding them with the Quick Insert menu becomes lightning fast. Think of it as your Spotlight Search for your entire design project.
Pro Tip: Wrap + Quick Insert
Select any element and press Ctrl+K to wrap it instantly – in a Stack, Grid, or Link. This speeds up layout structuring dramatically compared to right-click menus.
Tip 2: Use Smart Components with Variants
Framer’s Smart Components are the designer’s version of coded components. You can create a single button component and define multiple variants – Default, Hover, Pressed, Disabled – all within one component frame. Framer automatically handles transitions between states when a user interacts with the element on the live site.
This is a game-changer for building design systems. Instead of duplicating elements, you maintain a single source of truth. Update the base component, and every instance across your site updates automatically.
| Feature | Traditional Design | Framer Smart Components |
|---|---|---|
| State management | Manual, separate frames | Built-in variants, automatic |
| Hover effects | Requires code or plugins | Native variant transitions |
| Consistency | Copy-paste, prone to drift | Single source, global updates |
| Time to build | Hours | Minutes |
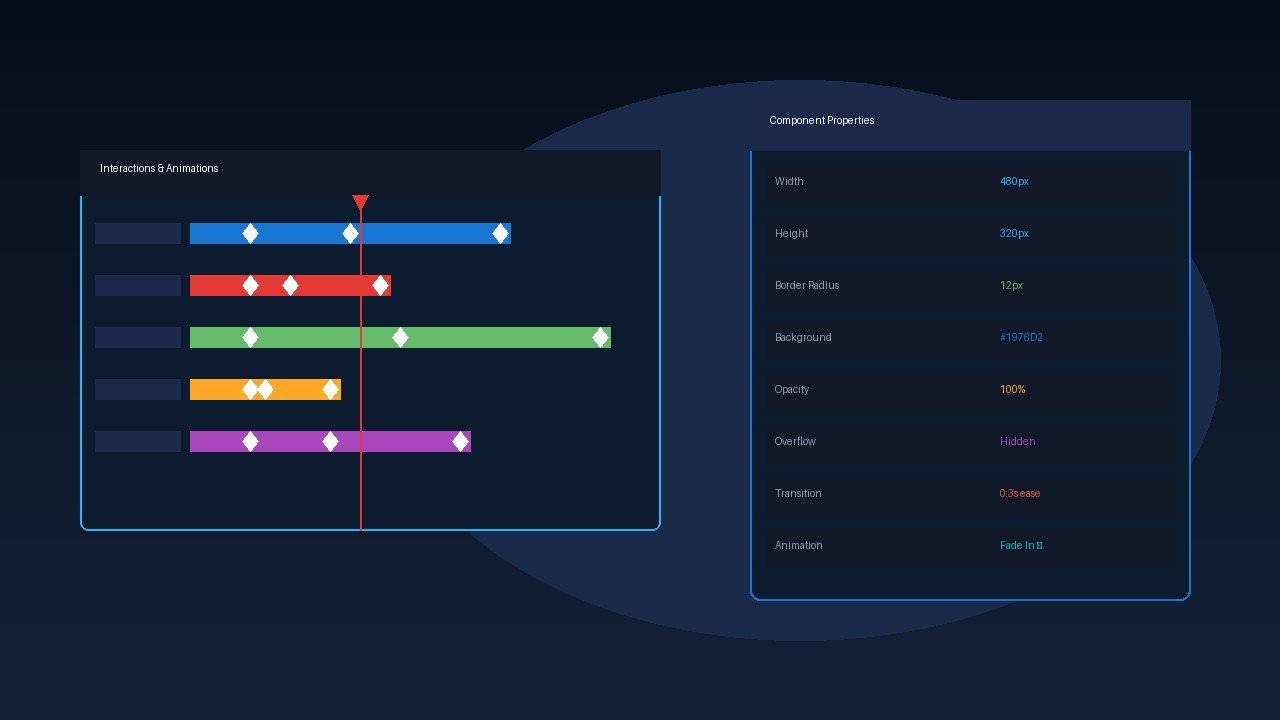
Tip 3: Animate Anything with the Transition Panel
One area where Framer absolutely shines – and where most beginners miss out – is its native animation system. Every element can have entrance animations (how it appears when the page loads or when it scrolls into view), interaction animations (what happens on hover or click), and exit animations.
In the right panel, select any element and open the Interactions tab. You will find:
- Appear – triggered on page load or scroll
- Tap / Click – action when user clicks
- Hover – state change on hover
- While Drag – for drag interactions
Set your animation type (Spring, Tween, Inertia), duration, delay, and easing. The Spring physics option creates buttery-smooth animations that feel natural rather than robotic – perfect for hero text reveals and card hovers.
Tip 4: Build with the CMS for Dynamic Content
Framer has a built-in Content Management System (CMS) that often gets overlooked. If you are building a portfolio, blog, or product showcase, you do not need a separate headless CMS. You can create a CMS Collection right inside Framer with custom fields (text, image, URL, rich text, color, etc.) and then bind those fields to any element on your canvas.
Here is the workflow:
- Go to CMS in the left sidebar and create a new Collection (e.g., “Blog Posts”)
- Define your fields: Title, Cover Image, Category, Body Text, Published Date
- Add your content entries
- On your canvas, create a Card component and bind each text/image element to CMS fields
- Use a Collection List component to automatically generate cards for every CMS entry
The result is a fully dynamic, filterable portfolio or blog – no external tools required.
Tip 5: Use Stacks and Grids for Responsive Layouts
Responsive design in Framer is powered by two layout primitives: Stacks and Grids. Understanding when to use each one is key to building sites that look great on mobile, tablet, and desktop.
Stacks work like CSS Flexbox. You arrange elements in a row or column with gap, alignment, and padding controls. Select multiple elements, right-click, and choose “Add Stack” – or use the panel on the right. Stacks automatically reflow when the viewport shrinks.
Grids work like CSS Grid. Perfect for card layouts, image galleries, or any content that needs consistent columns. Set your column count, gap, and row height, and Framer handles the responsive behavior automatically.
Breakpoints in Framer
Framer supports breakpoints (Desktop, Tablet, Mobile) that you can switch between in the top bar. For each breakpoint, you can override individual properties – font size, padding, visibility – without affecting other viewports. This gives you precise control over mobile layouts without duplicating entire frames.
Tip 6: Leverage the Component Store
Not every component needs to be built from scratch. Framer has a growing Component Marketplace where designers and developers publish free and premium components – sliders, navigation bars, pricing tables, testimonial carousels, and more. Access it from the Insert menu under “Components”.
These community components are fully editable after you insert them. Many ship with multiple variants and dark/light mode support. Using marketplace components for non-core sections of your site (footer, cookie banner, newsletter signup) can save hours of work.
Some popular categories in the store:
- Navigation menus with mobile hamburger toggle
- Animated hero sections and text reveals
- Feature grids and comparison tables
- Social proof / testimonial sliders
- Cookie consent banners (GDPR-ready)
- Contact forms with validation
Tip 7: Speed Up Workflows with Code Overrides
For designers comfortable with a little JavaScript, Framer supports Code Overrides – small snippets of React code you can attach to any element to add custom behavior. This is not full-blown coding; it is more like a lightweight power-up system.
Common use cases for Code Overrides:
- Connecting a form to a third-party service (Airtable, Notion, Make/Zapier)
- Custom scroll animations beyond what the Interactions panel offers
- Live data – pulling real-time API data into your design
- Counters and timers – animated number counts on scroll
- Cursor effects – custom cursor trails or magnetic buttons
You write overrides in Framer’s built-in code editor (accessible via the Assets panel). The code is TypeScript-based and comes with auto-complete, making it more accessible than raw React development.
Tip 8: Optimize Performance with Asset Management
A beautiful site that loads slowly is a terrible experience. Framer does a good job of automatic optimization, but you can help it by following these best practices:
- Use WebP images – Framer auto-converts uploaded images to WebP for faster loading
- Lazy load below-the-fold images – enable Lazy Load in the image settings panel
- Limit font weights – each font weight you add is an extra HTTP request; stick to 2-3 max
- Use system fonts for body text – Inter, -apple-system, or system-ui load instantly
- Compress Lottie animations – if using Lottie files, keep them under 200KB
- Avoid too many video backgrounds – they crush mobile performance; use a poster image as fallback
After publishing, use Framer’s built-in Analytics (or connect Google PageSpeed Insights) to benchmark your Core Web Vitals – LCP, FID, and CLS all matter for SEO.
Tip 9: Use Templates as Starting Points, Not Finished Products
Framer’s template library is extensive and high-quality – but many designers make the mistake of publishing a template with minimal changes and calling it done. Templates are best used as structural starting points. They give you a pre-built layout so you spend your time on branding and content, not wireframing from scratch.
How to make a template feel custom:
- Start by replacing all placeholder colors with your brand palette
- Update the typography to your brand fonts (Google Fonts are free and built-in)
- Swap every stock image with authentic brand photography or custom illustrations
- Delete sections you do not need rather than leaving them empty
- Add one signature animation or interaction that feels uniquely yours
The goal is that a visitor who has seen the original template should not recognize yours. With those five steps, you will get there in under an hour.
Tip 10: Publish, Track, and Iterate with Framer Analytics
Publishing is not the end of the design process – it is the beginning of the feedback loop. Framer includes built-in Analytics on paid plans that shows page views, sessions, bounce rate, and device breakdowns. Even on the free plan, you can connect Google Analytics or Plausible via custom scripts.
Key metrics to watch after launching:
- Bounce rate on mobile – if it is above 75%, your mobile layout needs work
- Scroll depth – are users reaching your CTA or dropping off early?
- Click heatmaps – connect Hotjar or Microsoft Clarity for free heatmaps
- Core Web Vitals – monitor LCP (should be under 2.5s) and CLS (under 0.1)
Use these insights to iterate on your design. The best Framer sites are not “launched and forgotten” – they are continuously refined based on real user behavior.
Bonus: Framer vs. Other Design Tools – Quick Comparison
| Feature | Framer | Figma | Webflow | Wix |
|---|---|---|---|---|
| Visual design canvas | ? Excellent | ? Excellent | ? Good | ?? Limited |
| Native animations | ? Advanced | ? None (live) | ? Good | ?? Basic |
| One-click publish | ? Yes | ? No | ? Yes | ? Yes |
| Built-in CMS | ? Yes | ? No | ? Advanced | ? Yes |
| Code flexibility | ? React overrides | ?? Plugins only | ? Custom code | ? Limited |
| Learning curve | Medium | Low | High | Low |
| Price (starter) | Free / /mo | Free / /mo | /mo | /mo |
How to Get Started with Framer Today
Getting started with Framer is free. Head to framer.com and create a free account. You can design and prototype unlimited projects. Publishing to a custom domain requires a paid plan starting at /month per site – which is competitive compared to alternatives.
Recommended learning path:
- Watch Framer’s official YouTube channel – they post excellent tutorial series
- Start with a simple portfolio using a free template (customize it fully using Tip 9)
- Explore Smart Components by rebuilding your most-used UI pattern
- Add one CMS collection to practice dynamic content
- Publish and share – real feedback from real users beats any tutorial
Want more design tutorials and tool deep-dives? Check out our About Us page, browse all our guides on the Tutorils homepage, or Contact Us if you have a topic you would like us to cover.
Frequently Asked Questions About Framer
Is Framer free to use?
Yes, Framer has a generous free tier that lets you design, prototype, and preview unlimited projects. However, to publish your site on a custom domain with more than 1,000 monthly visitors, you will need a paid plan starting at /month per site.
Do I need to know how to code to use Framer?
No. Framer is primarily a no-code tool. You can build and publish full websites, portfolios, and landing pages without writing any code. Code Overrides (Tip 7) are optional and only needed for advanced custom behavior.
How is Framer different from Figma?
Figma is a design and prototyping tool – it produces design files and clickable prototypes, but it cannot publish live websites. Framer is both a design tool and a web publisher. You design and publish from the same application, with real animations, CMS, and SEO built in.
Can I migrate my Figma designs to Framer?
Yes. Framer has a Figma import plugin that converts your Figma frames into editable Framer layers. The conversion is not pixel-perfect for complex auto-layout components, but it is a solid starting point that saves significant rebuild time.
Is Framer good for SEO?
Absolutely. Framer generates clean, semantic HTML and includes built-in SEO controls: meta title, meta description, Open Graph image, canonical URL, robots settings, and auto-generated XML sitemaps. On performance, Framer sites score well on Core Web Vitals out of the box – important for Google rankings.
Final Thoughts
Framer is one of the most exciting design tools available right now. It has closed the gap between design and development in a way that empowers designers to own the entire product – from pixel to published. The 10 tips in this guide represent the features that separate casual users from power users.
Start with what resonates most – maybe that is Smart Components, or maybe it is the CMS. Pick one tip, apply it to your next project, and then stack the others on top. Within a few weeks, you will be building and shipping websites faster than you ever thought possible with a design tool.
Have a Framer tip we missed? Drop it in the comments – we read them all!