If you've ever scrambled to find your Aadhaar card at a bank counter or dug through stacks of files looking for your marksheet during college admissions, DigiLocker is the solution you've been waiting for. India's official cloud-based document wallet - launched by the Ministry of Electronics and Information Technology (MeitY) - lets you store, access, and share all your important government documents digitally from anywhere, anytime.
How to Use DigiLocker: Store, Access and Share Your Documents Online
If you've ever scrambled to find your Aadhaar card at a bank counter or dug through stacks of files looking for your marksheet during college admissions, DigiLocker is the solution you've been waiting for. India's official cloud-based docum...
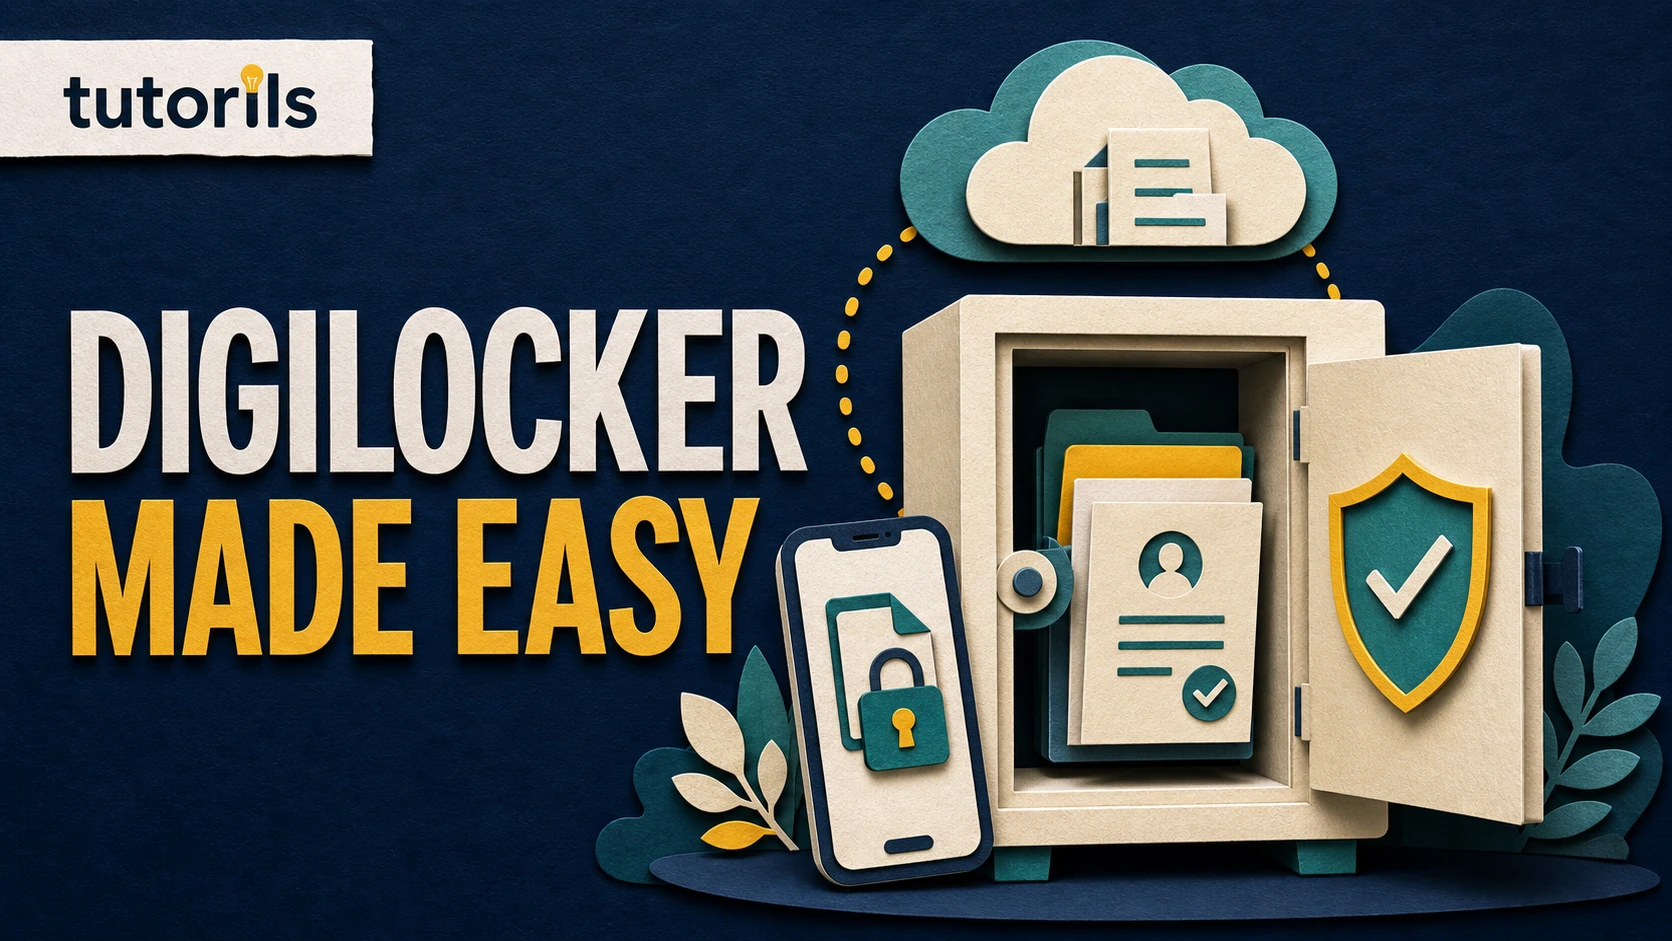
Realistic guide image for this Tutorils tutorial.In this complete step-by-step guide, you'll learn exactly how to use DigiLocker: how to sign up, link your Aadhaar, access documents like PAN, driving licence, vehicle RC, marksheets, and more - plus how to share them securely without printing a single sheet of paper.
What is DigiLocker?
DigiLocker is a free, secure digital document storage service provided by the Government of India. It allows every Indian citizen to store digitally issued documents directly from government authorities and access them via a smartphone or computer. These digital documents are legally valid under the Information Technology Act, 2000 - which means they carry the same weight as physical originals in most official uses.
Think of it as your personal cloud folder that only government-issued, verified documents can live in. Unlike Google Drive, documents in DigiLocker are issued directly by the issuing authority (like CBSE, RTO, Income Tax Dept.) and are digitally signed - making them tamper-proof and legally accepted.
Why Should Every Indian Use DigiLocker?
- No more carrying physical documents - your phone is enough
- Legally valid - accepted by police, banks, colleges, and government offices
- Safe from loss or damage - no fire, flood, or theft can take your documents
- Instant sharing - share documents via secure link or QR code in seconds
- Free forever - 1 GB of storage, no subscription
- Aadhaar-linked - auto-fetch documents from 600+ issuers
DigiLocker lets you store all essential Indian government documents in one secure appHow to Create a DigiLocker Account (Step by Step)
Setting up your DigiLocker account takes less than 5 minutes. All you need is your mobile number and Aadhaar card. Here's how to do it:
Step 1: Download the DigiLocker App or Visit the Website
You can use DigiLocker in two ways:
- App: Download the DigiLocker app from the Google Play Store (Android) or Apple App Store (iOS)
- Web: Go to digilocker.gov.in
Step 2: Click "Sign Up"
On the home screen, tap Sign Up. Enter your mobile number linked to Aadhaar - this is mandatory because OTP verification happens on this number.
Step 3: Verify OTP
A 6-digit OTP will be sent to your registered mobile number. Enter it to proceed. This verifies your phone number and establishes your identity.
Step 4: Set a Username and PIN
Create a unique username (you'll use this to log in later) and set a 6-digit security PIN. This PIN protects your locker from unauthorized access - don't share it with anyone.
Step 5: Link Your Aadhaar
This is the most important step. Enter your 12-digit Aadhaar number and verify via OTP sent to your Aadhaar-linked mobile. Once linked, DigiLocker automatically fetches your Aadhaar card, PAN card (if linked), and many other documents from government databases.
Your account is now ready. You'll see the DigiLocker dashboard with two main sections: Issued Documents and Uploaded Documents.
Understanding the DigiLocker Dashboard
Once inside, you'll notice DigiLocker is split into two key areas:
SectionWhat It ContainsIssued DocumentsDigitally signed docs fetched directly from issuers (UIDAI, RTO, CBSE, Income Tax Dept. etc.)Uploaded DocumentsScanned copies of documents you upload yourself (e.g., old certificates, property papers)Issued documents are legally superior - they are directly pulled from the source, digitally signed, and considered originals. Uploaded documents are self-attested copies and may not be accepted everywhere as legal originals.
How to Access Key Documents in DigiLocker
1. Aadhaar Card
After linking your Aadhaar, the card is auto-available in Issued Documents. You get a masked Aadhaar (last 4 digits visible) by default for privacy. This digital Aadhaar is accepted at airports, banks, and government offices under the UIDAI guidelines.
2. PAN Card
To fetch your PAN card in DigiLocker:
- Go to Search Documents
- Search for "Income Tax Department"
- Select PAN Verification Record
- Enter your PAN number and date of birth
- The verified PAN record will appear in your Issued Documents
Note: This is a PAN verification record - accepted for most KYC purposes but carry your physical card for bank account openings.
3. Driving Licence
Your digitally issued driving licence from the Ministry of Road Transport and Highways (MoRTH) can be fetched as follows:
- Go to Search Documents → type "Driving Licence"
- Select Ministry of Road Transport and Highways
- Enter your DL number and date of birth
- Fetch and save to your DigiLocker
As per the Motor Vehicles Amendment Act, traffic police must accept the DigiLocker driving licence displayed on your phone - no physical DL needed.
4. Vehicle Registration Certificate (RC)
- Go to Search Documents → search "Vehicle Registration"
- Select MoRTH and enter your vehicle registration number
- Your RC book data will be fetched and stored
This is especially useful if you've lost your physical RC book or your bike/car is in another city.
5. CBSE Marksheets & Certificates
Students with Class 10 and 12 board marksheets from CBSE can fetch them directly:
- Search CBSE in documents
- Select the document type (Class X / Class XII Marksheet)
- Enter your roll number and date of birth
- Fetch and save
Many colleges and universities now accept DigiLocker-issued CBSE certificates directly, eliminating the need for hardcopy submissions.
Share DigiLocker documents securely via QR code or unique shareable linkHow to Share Documents from DigiLocker
One of DigiLocker's best features is secure document sharing. You never have to carry physical copies or email scanned PDFs again.
Method 1: Share via Link
- Open the document you want to share
- Tap the Share icon (top right)
- Choose Share URI - this generates a unique secure link
- The recipient can open the link to view the document
The link includes a digital signature verification, so the recipient can confirm authenticity.
Method 2: Share via QR Code
- Open the document
- Tap Share → QR Code
- The recipient scans the QR code to access the verified document
This is perfect for job interviews, college admissions, or police verification where you need to show a document on the spot.
Method 3: eSign and Share as PDF
For formal submissions (government forms, contracts), you can eSign a document using your Aadhaar-based OTP and download it as a signed PDF - legally valid under the IT Act.
How to Upload Your Own Documents to DigiLocker
Beyond government-issued documents, DigiLocker lets you upload scanned copies of personal documents (max 10 MB per file, 1 GB total):
- Go to the Uploaded Documents section
- Tap Upload Document
- Choose the category (Identity, Education, Finance, etc.)
- Select the file from your device (PDF/JPG/PNG supported)
- Add a name and description
- Tap Upload
These uploaded documents are self-attested and stored securely. While they're not digitally signed by the government, they're useful for personal backups of documents like property papers, insurance policies, and old certificates.
DigiLocker Security: How Safe Is It?
DigiLocker uses bank-grade security with multiple layers of protection:
- 256-bit encryption for all data in transit and at rest
- Aadhaar-based authentication - only you can access your locker
- Two-factor authentication (2FA) via OTP every time you log in
- Activity logs - you can see who accessed your documents and when
- Auto logout after inactivity
The platform is hosted on government servers managed by National Informatics Centre (NIC) and follows ISO 27001 security standards.
DigiLocker Security Tips
- Never share your PIN or OTP with anyone - DigiLocker staff will never ask for it
- Enable app lock (fingerprint or face unlock) for extra protection
- Regularly check Activity Log to spot unauthorized access
- Update your linked mobile number if you change your number
Institutions That Accept DigiLocker Documents
Over 3,000+ organizations across India accept DigiLocker documents. Here's a quick breakdown:
CategoryExamplesGovernment AgenciesIncome Tax Dept., EPFO, RTO, Passport SevaBanksSBI, HDFC, ICICI, Axis, PNB (for KYC)Educational InstitutionsCBSE, IITs, State Universities, DU, Mumbai UniversityTraffic AuthoritiesPolice (Traffic), RTO officersInsuranceLIC, ICICI Lombard, Star HealthTelecomAirtel, Jio (for SIM KYC)Common DigiLocker Problems and Fixes
Problem 1: Document Not Found in DigiLocker
Fix: Not all issuers have uploaded all documents yet. Check the issuer's website to see if they have integrated with DigiLocker. If your state RTO hasn't integrated, your DL won't be available yet - keep checking every few months.
Problem 2: OTP Not Received
Fix: Ensure your Aadhaar-linked mobile number is active and has network signal. If the number is changed, update it at your nearest Aadhaar centre or via the mAadhaar app before trying again.
Problem 3: Account Locked
Fix: After multiple wrong PIN attempts, the account gets locked for 24 hours. Wait it out or use the Forgot PIN option to reset via Aadhaar OTP verification.
Problem 4: Mismatch in Document Details
Fix: If your name or date of birth doesn't match between Aadhaar and PAN, you'll face fetch errors. Correct the mismatch at the NSDL/UTI portal (for PAN) or UIDAI (for Aadhaar) and try again after 24-48 hours.
DigiLocker vs mAadhaar: What's the Difference?
FeatureDigiLockermAadhaarPurposeMulti-document walletAadhaar-specific appDocuments100+ types across 600+ issuersAadhaar onlyUpload own docsYes (up to 1 GB)NoeSign capabilityYesNoLegal validityHigh (IT Act backed)High (UIDAI backed)Best forAll official document needsAadhaar identity proof onlyFor most Indians, DigiLocker is the more comprehensive choice. mAadhaar is useful specifically when you only need to show your Aadhaar for quick identity verification.
DigiLocker for Students: A Game Changer
If you're a student or parent, DigiLocker can save enormous hassle during admissions, scholarship applications, and competitive exam registrations. Here's how students benefit most:
- CBSE/ICSE marksheets instantly available after results - no waiting for physical certificates
- College admissions - submit documents digitally via DigiLocker integration on the National Academic Depository (NAD)
- Scholarship portals - NSP (National Scholarship Portal) accepts DigiLocker documents
- Exam hall tickets - store JEE, NEET, UPSC admit cards in your Uploaded Documents section
How to Use DigiLocker for IRCTC Ticket Booking
Here's a lesser-known but extremely practical use: DigiLocker is integrated with IRCTC for ID verification during train travel. Instead of carrying a physical ID when travelling by train:
- Book your train ticket on IRCTC as usual
- During ticket booking, select DigiLocker as your ID proof
- Your Aadhaar from DigiLocker acts as valid travel ID
- During travel, if TTE asks for ID, open DigiLocker and show your Aadhaar
This is accepted on all trains including Vande Bharat and Rajdhani Express - verified directly by Railway staff via the digital document.
Advanced DigiLocker Features You Should Know
1. Activity Log
Go to Profile → Activity Log to see every login, document access, and share event with timestamp and IP address. It's your personal audit trail.
2. eSign Documents
DigiLocker's built-in eSign feature lets you digitally sign PDFs using Aadhaar OTP - valid under the IT Act for most official purposes.
3. Certificate Verification
Third parties (employers, institutions) can verify your documents without you being present by scanning the QR code on your shared DigiLocker document - it redirects to the issuer's database for live verification.
4. SMS-Based Access
If you have a basic phone with no internet, you can request documents via SMS to 56161 - though this feature is limited. The app/web experience is far more complete.
Frequently Asked Questions (FAQs)
Is DigiLocker free to use?
Yes, DigiLocker is completely free for all Indian citizens. You get 1 GB of storage with no fees or subscription charges - it's a government service funded by MeitY.
Is a DigiLocker document accepted as original ID proof?
Yes - for most official purposes in India, DigiLocker-issued documents (fetched directly from government issuers) are legally accepted as original documents under the Information Technology Act, 2000. They are accepted at airports, banks, RTO offices, and many government departments.
Can I use DigiLocker without Aadhaar?
You can create a basic account with just a mobile number, but without Aadhaar linking, you cannot fetch government-issued documents. The full power of DigiLocker - and its legal validity - requires Aadhaar linkage.
What happens if I lose my phone?
Your DigiLocker is cloud-based - it's tied to your Aadhaar and mobile number, not your physical device. Simply download the app on a new phone, log in with your credentials, and all your documents are back. For extra safety, immediately change your PIN from a trusted device.
Can someone else access my DigiLocker documents?
No - your DigiLocker is protected by your unique PIN and Aadhaar-based OTP. Even DigiLocker staff cannot access your documents. Only people you explicitly share links or QR codes with can view specific documents, and those links can be revoked at any time.
Quick Summary: DigiLocker Essentials
- Download DigiLocker app or visit digilocker.gov.in
- Sign up with Aadhaar-linked mobile number
- Link Aadhaar to auto-fetch documents
- Fetch Aadhaar, PAN, DL, RC, marksheets from 600+ issuers
- Share securely via link, QR code, or eSign PDF
- Accepted at banks, airports, traffic police, colleges
- 1 GB free storage, 256-bit encrypted, government-secured
DigiLocker is one of the most practical and underutilized tools in every Indian's digital toolkit. Once set up, it saves you time and stress every single time you need to show identity or education proof. Whether you're opening a bank account, registering a SIM card, applying for a job, or travelling by train - your DigiLocker has you covered.
Want to learn more about digital India tools and step-by-step government portal guides? Check out our Tutorils homepage for more how-to guides. You can also learn about us or contact us if you have questions.
Related Tutorils guides
Reader answers
Frequently asked questions
Open a question to read the answer. Opening another answer closes the previous one.
What is the best way to start how to use digilocker: store, access and share your documents online?
Start with the preparation section in this guide. Confirm the goal, collect the required information, and use the official website or app named by the responsible authority. Make one controlled change at a time so you can identify which step produced the result.
Can a beginner follow this how to use digilocker: store, access and share your documents online guide?
Yes. Read the full sequence once before acting, then follow the steps in order. Do not skip backups, account checks, or verification steps. If a label differs on your screen, consult the responsible government, bank, examination, or service provider documentation before choosing a similar.
What should I prepare before working on how to use digilocker: store, access and share your documents online?
Prepare the account, device, documents, files, or source material named in the guide. Save a backup where relevant, confirm internet access, and keep recovery details available. For sensitive tasks, work on a trusted device and private connection.
How long does how to use digilocker: store, access and share your documents online usually take?
The time depends on the device, account, file size, approval process, and connection speed involved. Allow extra time for verification or syncing. A careful first attempt is usually better than rushing and having to repeat the work.
Is how to use digilocker: store, access and share your documents online safe to do?
Use the official website or app named by the responsible authority, review permissions, and protect private information. Watch for using an unofficial page, entering the wrong personal data, or sharing a one-time code. Stop if a page, message, or permission request does not match.
What if the options for how to use digilocker: store, access and share your documents online look different?
Interfaces change and some options vary by device, account type, region, or software version. Check the current official help page, search the settings menu for the named feature, and avoid selecting a substitute option until its purpose is clear.
How do I know whether how to use digilocker: store, access and share your documents online worked?
Use the verification step in this guide and check for an official confirmation, reference number, status page, or downloaded record. Test the outcome with a small, low-risk example when possible. Keep the confirmation page, reference number, or before-and-after note until you are satisfied.
What should I do if how to use digilocker: store, access and share your documents online does not work?
Recheck the prerequisites, spelling, account, connection, permissions, and software version. Repeat only the failed step. Record the exact error message, then use the responsible government, bank, examination, or service provider documentation or the provider's official support channel for that specific error.
Can I undo changes made during how to use digilocker: store, access and share your documents online?
Some changes can be reversed, while submissions, deletions, payments, or account actions may not be. Read each confirmation screen before continuing. Use the rollback or recovery guidance in the article and keep a backup before changing important data.
How can I keep how to use digilocker: store, access and share your documents online accurate over time?
Review the setup after major updates and whenever the service changes its interface or policy. Recheck permissions, saved details, links, and results. Use the article's updated date together with the responsible government, bank, examination, or service provider documentation for the latest instructions.