Moving photos from an iPhone to a Windows PC should be simple, but several choices can change the result. A USB import may copy files directly from the phone. iCloud Photos may download originals from cloud storage. Some HEIC photos and HEVC videos may need compatible software on Windows, while a transfer setting can convert them to older formats.
How to Transfer Photos From iPhone to Windows
Transfer iPhone photos to Windows with Microsoft Photos or iCloud, preserve quality and formats, fix connection problems, and verify files before deleting.
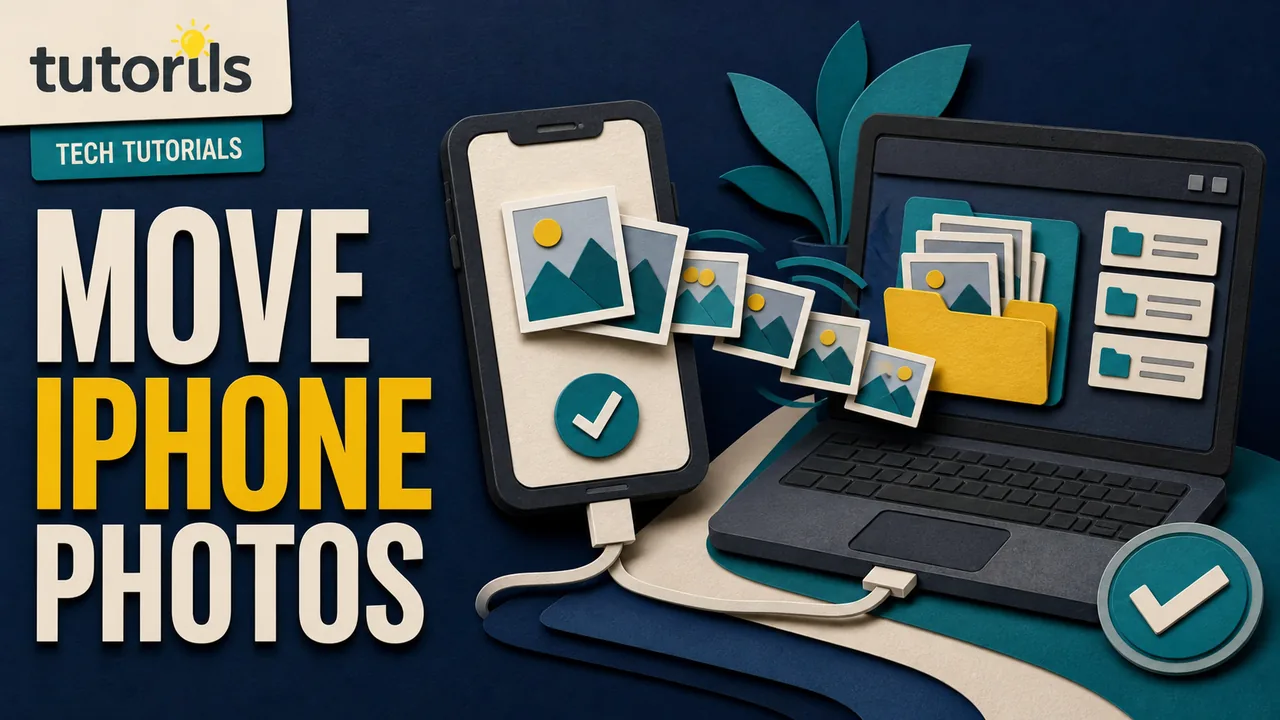
The safest method is the one you understand and can verify. Do not delete anything from the iPhone until you have opened a sample on the PC, checked the number of transferred items, and confirmed that important videos, Live Photos, edits, and dates came across as expected.
This guide covers the two current first-party routes: importing with a cable through Microsoft Photos and downloading with iCloud for Windows. It also explains quality, formats, duplicates, and common connection failures.
Choose USB import or iCloud Photos
Use a USB cable when you want a one-time copy, have a large local collection, or do not want to wait for a cloud download. The iPhone must be unlocked and connected with a cable that carries data. Photos stored only in iCloud may need to download to the phone before a complete cable import.
Use iCloud Photos when your library already syncs to iCloud and you want ongoing access from Windows. This method can show cloud photos even when an optimized copy, rather than the full original, is stored on the iPhone. It requires enough iCloud storage and an internet connection for uploads and downloads.
These methods solve different problems:
| Need | Better starting point |
|---|---|
| One-time offline copy | USB and Microsoft Photos |
| Ongoing access on several devices | iCloud Photos for Windows |
| Originals are mostly in iCloud | iCloud Photos for Windows |
| Slow internet but originals are on the phone | USB import |
| Shared or managed work computer | Ask the administrator before either method |
Do not mix both methods in the same destination folder during your first transfer. It becomes harder to tell whether a duplicate came from a second import, cloud sync, or a copied edit.
Prepare the iPhone and Windows PC
Charge both devices or connect the laptop to power. Install current Windows and iPhone updates when practical, then restart if either device has been waiting for an update. A current system is more likely to recognize the phone and its media formats correctly.
Apple's May 19, 2026 guide to transferring photos and videos to a PC directs Windows users to install the Apple Devices app from the Microsoft Store, connect the iPhone by USB, unlock it, and accept the Trust or Allow prompt. Microsoft likewise says its Photos importer needs a cable that can transfer files and an unlocked phone.
Before connecting, decide where the copy will live. Create a folder on a drive with enough free space, such as Pictures\iPhone Import 2026-08-27. Do not import straight into a folder that already contains a large unsorted library.
For a collection that will grow, follow the Tutorils guide to creating a consistent file naming system. You do not need to rename every iPhone file during transfer. A dated import folder is enough to preserve a clear batch boundary.
Method 1: Import through Microsoft Photos with USB
Start with a small test batch if this is your first transfer.
- Install or update Apple Devices from the Microsoft Store.
- Connect the iPhone directly to the PC with a known data-capable USB cable.
- Unlock the iPhone and keep its screen awake during detection.
- When the iPhone asks whether to trust or allow this computer, confirm only if it is your PC or a computer you are authorized to use.
- Open the Windows Photos app.
- Select Import, choose the connected iPhone, and wait while Windows reads the library.
- Select a small group that includes a normal photo, a video, an edited photo, and a Live Photo if you use them.
- Choose the dated destination folder and start the import.
- Wait for completion before disconnecting the cable.
Microsoft's current phone-to-PC import instructions say you can choose the items and destination after selecting the connected device. Detection can take time, especially with a large library.
Do not use the phone heavily while the import is running. Avoid moving the cable or letting a laptop enter sleep. If the iPhone locks and the transfer pauses, unlock it again and check the Photos window before restarting the entire batch.
After the test, open every transferred file. Play the video from the beginning and near the end. Check orientation, date, resolution, and whether the edited appearance is the version you expected. Once the test passes, import the remaining items in manageable groups rather than one enormous selection.
Understand the Trust This Computer prompt
Trust allows the computer to communicate with the iPhone and access information required by supported apps. Accept it only on your own or an approved computer. Do not trust a public kiosk, shared hotel computer, or an unknown repair device merely to copy a photo.
If no prompt appears, disconnect the cable, unlock the phone, reconnect it, and watch the screen. Try a different USB port and a different cable. Some charging cables do not carry data, which is why a phone can charge while remaining invisible to Windows.
If you trusted the wrong computer, disconnect immediately and use the current iPhone privacy settings to reset trusted computers or location and privacy settings. Menu labels can change by iOS version, so use Apple's current support guidance for your model rather than following an old screenshot.
Method 2: Download with iCloud Photos for Windows
iCloud Photos is often the cleaner route when Optimize iPhone Storage is enabled and many originals are not currently stored on the device.
- Confirm that iCloud Photos is enabled on the iPhone and that uploads have finished.
- Install iCloud for Windows from the Microsoft Store.
- Sign in with your Apple Account and complete verification.
- Turn on the Photos option in iCloud for Windows.
- Open File Explorer and select iCloud Photos.
- Open a photo or video to download it, or select several items while holding Ctrl.
- Wait for the required originals to finish downloading before copying them into a separate archive folder.
Apple's April 30, 2025 guide to using iCloud Photos on a PC says iCloud for Windows can keep photos available through File Explorer. It also provides iCloud.com as a browser route for selecting and downloading items.
Remember that iCloud Photos is a synchronized library, not automatically a separate backup. A deletion can sync to other devices. If your goal is an independent archive, copy the fully downloaded files to another folder or drive and verify that copy. The Tutorils free cloud backup setup explains why a synced library and a recovery copy are not the same thing.
On a shared PC, do not leave your Apple Account signed in. Remove downloaded personal files according to the computer owner's policy and sign out when finished. Never approve an unexpected sign-in prompt or verification request that you did not initiate.
Preserve full quality and original formats
A file transfer does not always mean the PC receives the exact original format. Modern iPhones can capture HEIF photos, commonly shown with an HEIC extension, and HEVC video. These formats use efficient compression but may not open in older Windows software.
Apple's December 5, 2025 guidance on HEIF and HEVC media says USB imports may convert HEIF to JPEG and HEVC to H.264. If you want to prevent conversion, Apple directs users to Settings, Apps, Photos, then Keep Originals. The exact path can differ on older iOS versions.
Choose based on your goal:
- Keep Originals preserves the captured format for archiving and compatible editors.
- Automatic or compatible transfer can be easier for older Windows apps but may create JPEG or H.264 copies.
- Changing Camera, Formats to Most Compatible affects future captures. It does not convert the existing library.
Apple says HEIF and HEVC can provide better compression than JPEG and H.264 while preserving visual quality. Do not convert the whole archive simply because one Windows app cannot open a file. First update Windows and the app, then check whether the required codec support is available from Microsoft. Keep the original before making a compatibility copy.
For a quality check, compare pixel dimensions and file properties, not only how a thumbnail looks. A preview can be scaled or color-managed differently without the underlying photo being lower resolution.
Account for Live Photos, edits, RAW, and slow-motion video
A Live Photo contains a still image plus a short motion component. Windows may display these as related files rather than one interactive item. Do not assume the still image is the complete Live Photo. Test the import and keep all associated files together.
An edited photo can also have an original and an adjustment record or rendered result. Depending on the method and software, you may receive the current edited appearance, the original, or more than one related file. Compare a known edited image after transfer.
ProRAW, high-resolution video, cinematic video, and slow-motion clips can be much larger than ordinary photos. Import them in smaller groups, leave ample free disk space, and play them in software that supports the format. A successful copy message does not prove the editor you plan to use can decode every feature.
Fix an iPhone that does not appear in Photos
Work through simple causes before changing settings:
- Unlock the iPhone and leave it on the Home Screen.
- Disconnect and reconnect the cable.
- Try another USB port directly on the PC, without a hub.
- Try a known data cable, not a charge-only cable.
- Accept the Trust or Allow prompt on the iPhone.
- Close and reopen Microsoft Photos.
- Open or update Apple Devices.
- Restart the iPhone and Windows PC.
- Install pending operating system and Photos app updates.
If the device appears but items do not, consider where the originals are stored. Apple says that when iCloud Photos is on, full-resolution originals must be downloaded to the iPhone before USB import. Microsoft also advises using iCloud for Windows when media exists in iCloud but not locally on the phone.
Do not reset the iPhone, erase the library, disable iCloud Photos, or sign out of the Apple Account as an early troubleshooting step. Those changes can affect synchronization and local storage. If basic checks fail, use Apple Support or Microsoft Support with the exact Windows version, iPhone model, iOS version, cable type, and error message.
Prevent duplicates and missing items
Before a large import, note the approximate item count and date range on the iPhone. Windows may count a Live Photo's components separately, so do not expect a perfect one-to-one total without inspection.
Use one destination for one transfer method. Record the import date in the folder name. If Microsoft Photos offers to import new items, review its selection rather than assuming its duplicate detection understands every edit and paired file.
After transfer:
- Sort the destination by date and file type.
- Open samples from the oldest, middle, and newest dates.
- Search for zero-byte files.
- Play several long videos completely enough to catch corruption.
- Check that edited and portrait photos look right.
- Compare important albums manually because album organization may not transfer as ordinary folders.
Once the batch is verified, use the Tutorils guide to organizing files so you can find them later. Keep the untouched import folder until the organized copy and backup are both confirmed.
Verify before deleting anything
Treat the first transfer as a copy, not a move. Keep the iPhone library intact until you have at least one verified PC copy and, for important memories, another backup on separate storage.
Use this final check:
| Verification | Complete |
|---|---|
| Expected date range is present | |
| Random photos open at full size | |
| Important videos play | |
| Live Photo components are preserved | |
| HEIC, HEVC, and RAW files open in the intended app | |
| Edits and orientation look correct | |
| Folder is on the intended drive | |
| Independent backup exists |
Only then consider freeing space on the iPhone. If iCloud Photos is enabled, understand that deleting from the synchronized library can remove the item from iCloud and other connected devices. Export or copy the verified originals to storage outside the synchronized iCloud Photos folder before cleanup.
For a broader method that covers other phones and connection choices, see the Tutorils guide to transferring phone photos without losing quality.
The reliable workflow is uncomplicated: choose one route, test a representative batch, preserve the original format when it matters, organize the result, and verify a second copy before deleting. That takes a little longer than a blind bulk import, but it protects the photos you cannot recreate.
Reader answers
Frequently asked questions
Open a question to read the answer. Opening another answer closes the previous one.
What is the safest way to transfer iPhone photos to Windows?
Use Microsoft Photos with a data-capable USB cable for a local copy, or iCloud Photos for a synced library. Test a small batch, open the files, and keep the iPhone originals until another verified backup exists.
Why does my iPhone not appear in Windows Photos?
Unlock the iPhone, reconnect it, accept the Trust or Allow prompt, and try another USB port or data cable. Update Apple Devices, Windows Photos, iOS, and Windows before considering more disruptive troubleshooting.
Do I need iTunes to import iPhone photos to Windows?
Apple's current instructions direct Windows users to install Apple Devices and import through Microsoft Photos. iTunes is not the normal requirement for this photo workflow, although older setups may differ.
Should I tap Trust This Computer on my iPhone?
Tap Trust or Allow only for your own or an approved computer. The prompt permits supported communication with the iPhone. Do not trust a public, shared, or unknown computer simply to copy media.
Does transferring iPhone photos reduce their quality?
A direct copy can preserve full resolution, but USB settings may convert HEIF or HEVC to JPEG or H.264. Choose Keep Originals when exact source formats matter, then verify dimensions and file properties.
Why will an HEIC photo not open on Windows?
The Windows app may lack current HEIF support. Update Windows and the app, check Microsoft's supported codec options, and keep the original file before creating a JPEG compatibility copy.
How do Live Photos transfer to a Windows PC?
A Live Photo can appear as related still-image and motion files rather than one interactive item. Test a known Live Photo and preserve all associated files together before deleting it from the iPhone.
Why are some iCloud photos missing during USB import?
With Optimize iPhone Storage, full originals may be in iCloud rather than on the phone. Apple says to download originals to the device before USB import, or use iCloud Photos for Windows.
How can I avoid duplicate iPhone photo imports?
Use one method and one dated destination per batch. Review the import selection, preserve the untouched batch, and compare dates, file names, sizes, and paired Live Photo components before removing duplicates.
When can I delete photos from the iPhone?
Delete only after important files open correctly on the PC and an independent backup is verified. If iCloud Photos is enabled, remember that deletion can synchronize across iCloud and other connected devices.